NOTICE: Campaigns are a paid feature. For more information, please contact: care@signi.com
Campaigns allow bulk sending of documents – either the same file for all recipients, or using templates with personalized data based on an uploaded CSV file. Unlike simple bulk sending, in campaigns you can combine templates and your own documents.
Guide: Creating a new campaign
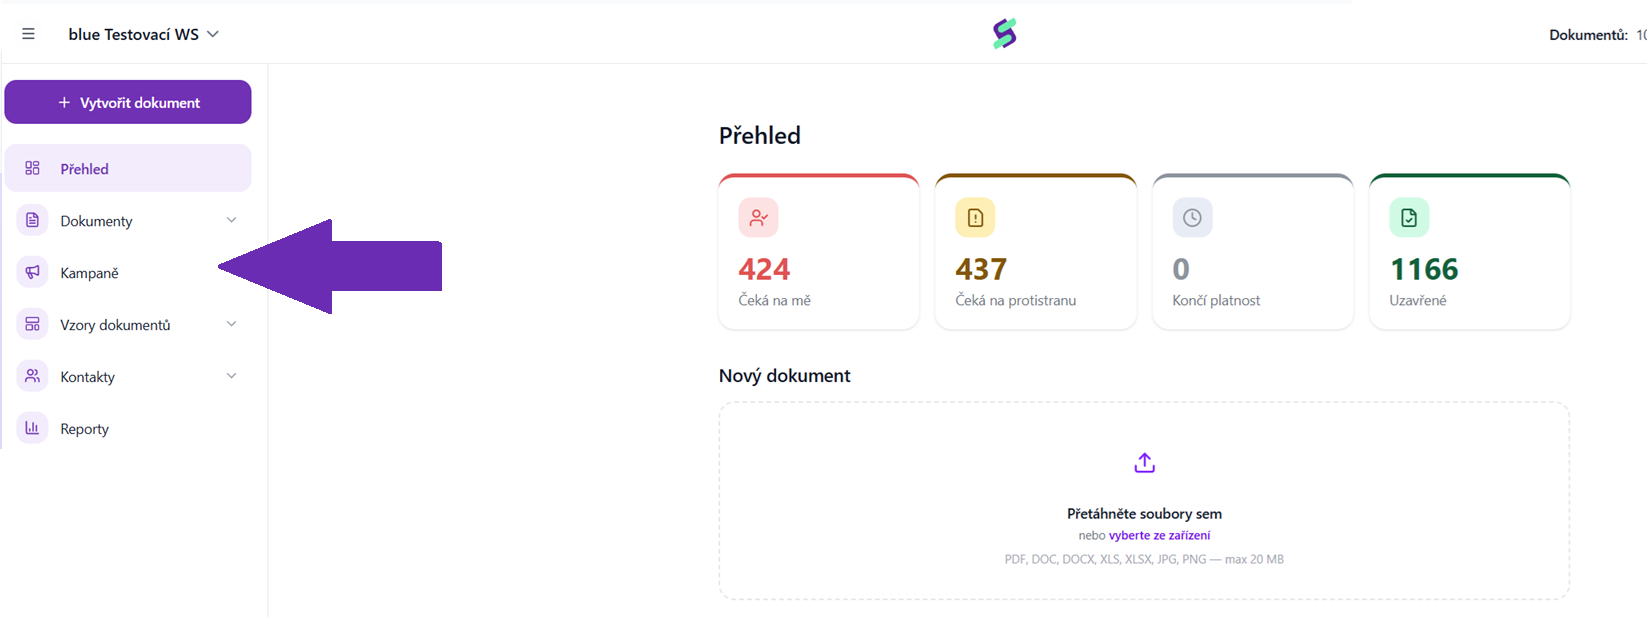
On the SIGNI main page, click the Campaigns button in the menu on the left.
In the top right, click the Create new campaign button.

Upload either a ready document that will be sent to all recipients, or use one of our templates and fill in the data dynamically using a CSV file. Or you can use a combination of an uploaded document and templates.

Choose a template or upload your own document and click Continue at the bottom.
Select contacts:
manually using the + buttons next to individual contacts,
or in bulk by clicking the Upload contacts in bulk (CSV) button.


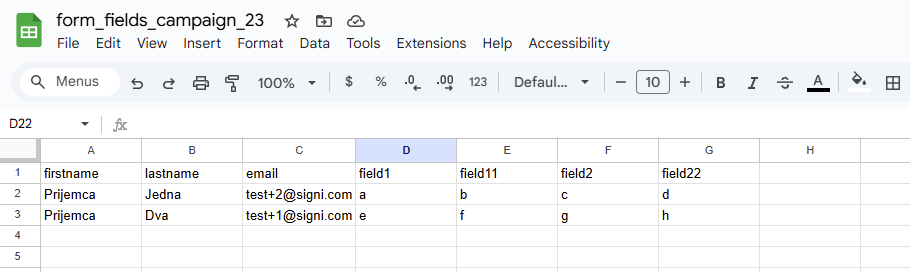
When uploading a CSV file, you can download a sample CSV file that contains all the variables from your selected template. Simply open it in Excel / Google Sheets and fill in the data. Upload the completed CSV file back into the Signi application.
After the CSV is uploaded successfully, you will see the number of selected contacts. Click Check signers if you want to review the list.


Once everything is ready, click the Continue button.

Now set up the signing scenario – notification language, internal notes, etc.

Review the list of recipients and continue.
In the next step you will see the documents:
For templates, the data will be filled in automatically,
For uploaded documents, drag the signature field to the desired location and click Finish.


The campaign overview will be displayed:
Undelivered
To be sent
Sent
Delivered
Signed
Awaiting signature

If you have purchased the Bulk overview module, you can click the More button to display the contents of all documents in bulk.

You can then:
send the campaign immediately, or
schedule it for a specific date in the future.


After sending, a message will appear stating that the campaign is being processed. This may take up to 5 minutes.

✅ Done! The campaign has been sent successfully and you will see its current status in the document list.
Have more questions? Contact our support or write to care@signi.com.
Was this article helpful?
That’s Great!
Thank you for your feedback
Sorry! We couldn't be helpful
Thank you for your feedback
Feedback sent
We appreciate your effort and will try to fix the article