ℹ️ The new version of Signi verification will be released to production during September 2026. Until then, the screens in the app may differ slightly from the description.
Verification doesn't have to be tied to a document. You can verify a contact from your address book separately, "in advance" — and when you later send them a document, Signi uses the valid verification and the counterparty goes straight to signing. This is handy for onboarding clients or employees, where verification precedes the first contract.
Starting verification
- Open Contacts and the contact detail.
- Click Verify user (for a contact with verification history, the Start verification button is in the Verification section).
- In the dialog, choose the verification type — one of your verification groups. By checking Alternative verification method you can add a second group; the person being verified then chooses.
- Send verification — the contact receives an email with a link.
Each start creates a new verification run, even if the contact already has a valid verification from before.
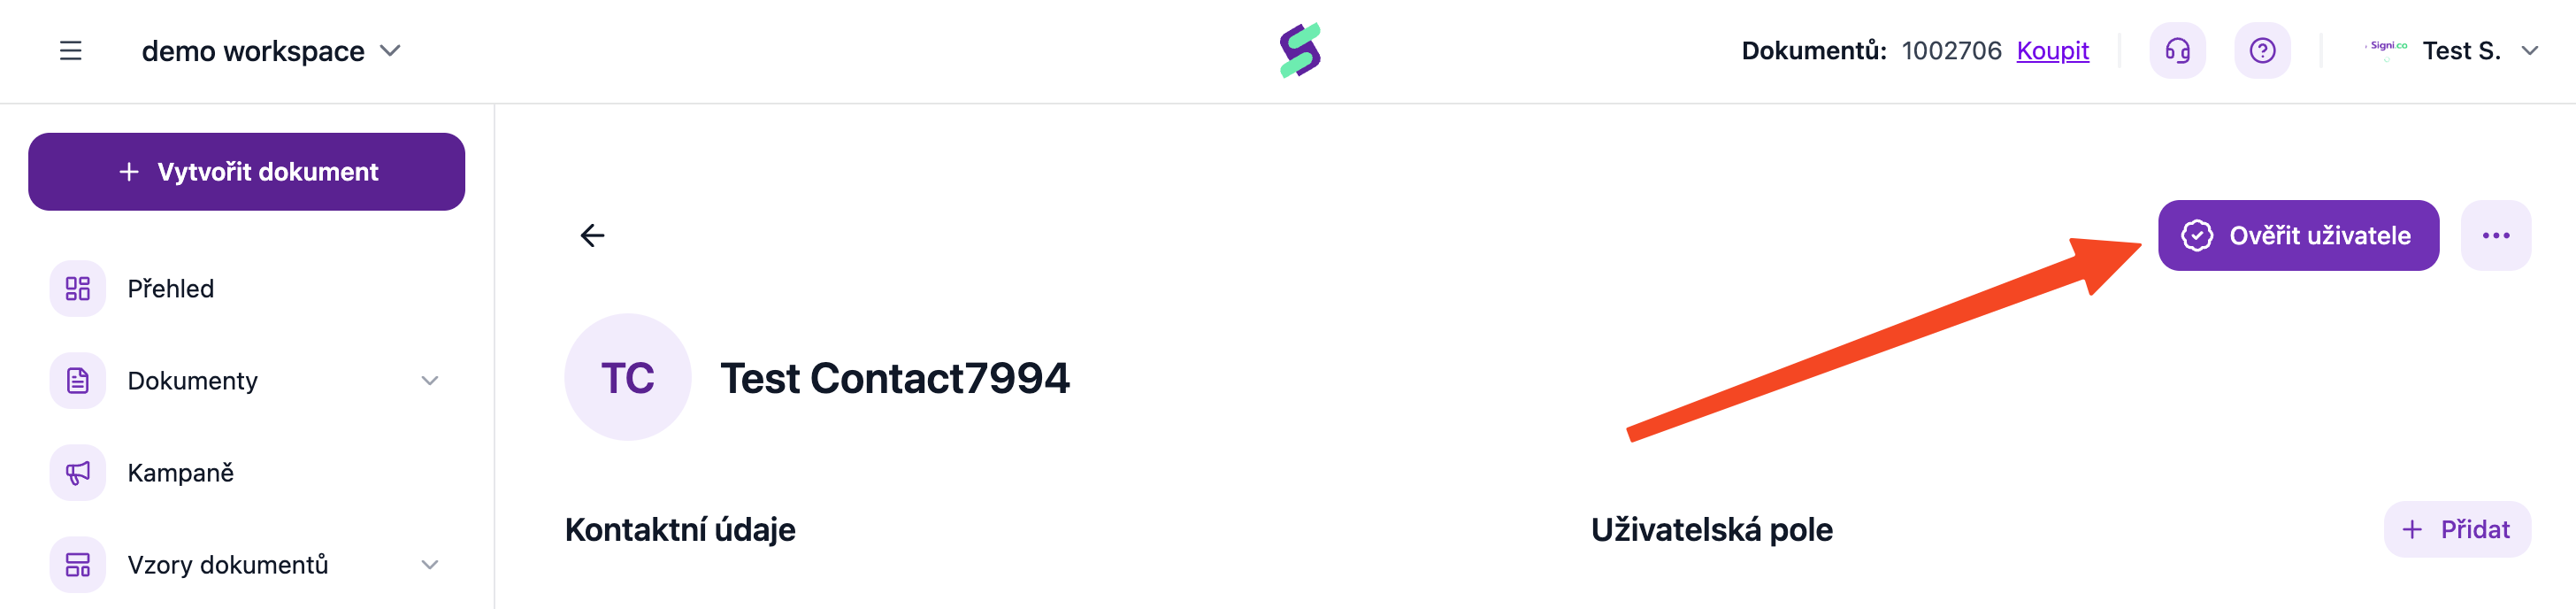
Verification section in the contact detail
The contact detail has a Verification section with the history of all runs: date, status (Pending, To review, Approved…) and the group name. For a verification in the To review status there is a Review button that opens the review and approval.
You can also see the verification status label in the contact detail header.
Where to go next
- Reviewing and approving a verification
- Document with counterparty verification
- For integrators: Creating a contact verification via API
Related terms: remote identification · distance verification · counterparty identity verification
Was this article helpful?
That’s Great!
Thank you for your feedback
Sorry! We couldn't be helpful
Thank you for your feedback
Feedback sent
We appreciate your effort and will try to fix the article