The Signi connector for Microsoft Power Automate is suitable for simpler tasks and for those with less integration experience.
Before using it, you need to set up an account on Signi, have Signi activate API access, generate an API key, register the connector and get it working in the MS Power Automate environment according to the following procedure.
- Preparation on Signi's side
- Preparing for MS Power Automate
- Using the connector
- Other topics
- Where to go if you have problems
Preparation on Signi's side
Creating an account
The user creates his main account at www.signi.com under his chosen email address. When setting up the account, he/she selects to create a workspace/workspace for the legal entity to be able to add more people to the team. Billing will also subsequently be conducted under this account if applicable.


When setting up an account or workspace, select "Legal Entity" as the type. This will allow you to allow multiple users access to the workspace, for example.
Activating the API
The user sends the email under which this master account is set up to Signi at sales@signi.com. Based on this, some extension features are enabled for the account or workspace/workspace, such as custom branding or API access, and enough credits are set up for signature testing

Generate API key
When a user is logged into Signi under the account under which the workspace(s) is/are created on Signi, the user will view the https://app.signi.com/api page and generate an API key(s) for his/her workspace.

Generate and display API keys for individual workspaces / workspaces.
Preparing for MS Power Automate
API key registration and connector download
At https://docs.talxis.com/cz/customizer-guide/integration/signi/ :
Enter the information needed to make the connector operational in the form
Wait for the connection activation for your API key to be confirmed
Also download the Signi connector package for Microsoft from the form page.
The next step will be to install the connector into MS Power Automate and set up the flow.

What and how to fill in the Signi Connector registration form for Microsoft.
Installing the connector
Log into MS Power Automate in your Microsoft environment, select Solutions > Import Solution and upload the connector ZIP file from the previous step.

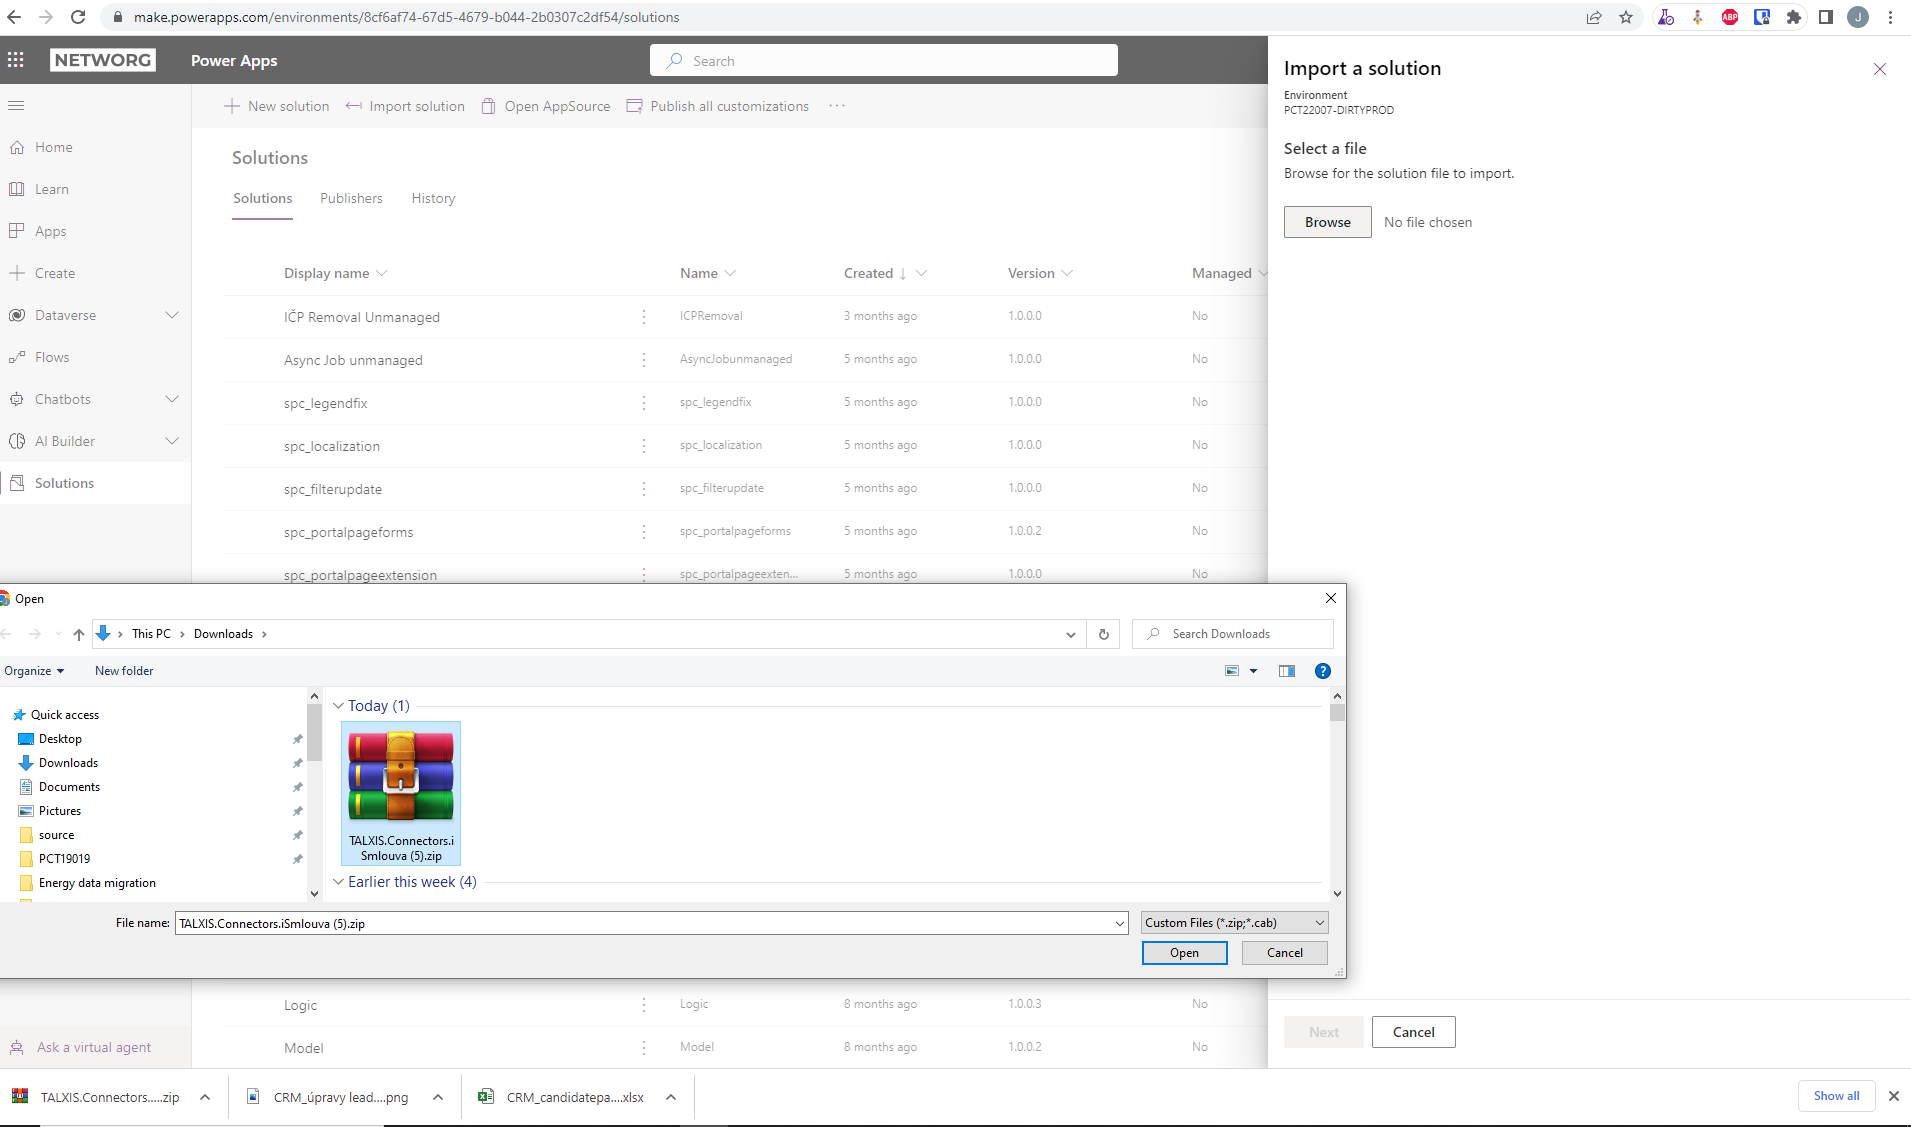
Upload the file with the Solution Signi connector.
After the import, which may take about 1 minute, verify that the "TALXIS Connector Signi" connector is in the list of custom connectors.
Using the connector
Flow settings
An example of the flow of a simple document signature invocation is shown in the following diagram. The meaning of the parameters of each connector call is described below.

Flow with Sign Contract From Provided File component and branching according to the signing result - document signed (Signed), rejected (Rejected) and expired (Expired)

Available Signi connector actions for Microsoft
"Sign Contract From Provided File" call parameters Sign connector for Microsoft | |
| File (File Name) | The name of the file when calling the API - e.g. "Filename" obtained from flow. It should not contain diacritics, the extension should match the document type, e.g. pdf. The name should be different from the name of the resulting document with signature, unless versioning is used. |
| File Content (File) | The content of the file, e.g. "File content" obtained from flow. |
| Contract Number | Document number usable for registration in Signi, displayed and traceable in the Signi user interface. |
| Contract Sign Date | Date signed by the proposer, ideally the current date, the default date format of YYYY-MM-DD must be followed. |
| Author E-mail* | The email of the claimant's representative, typically a statutory representative of the Signi operator, must have a Signi account established under their email and signing rights set up on the workspace. If he/she is to have a signature placed, he/she must have his/her signature uploaded in the profile and the default signing location must be specified in the workspace properties. |
| Author Should Sign* | Yes - The claimant's representative, typically the statutory representative of the Signi operator, will sign the document, i.e. they will receive the notification email and SMS. If he/she is to sign the document automatically, this requires that he/she has a Signi account set up under his/her email, has set up signing rights on the workspace, has uploaded his/her Signi user profile > Profile Settings > Sign his/her signature. A default signing location must be specified in the workspace properties. No - The proponent's representative, typically a statutory representative of the operator receives the document for approval - they just read and acknowledge it, but do not sign |
| Author Signature Page *, Author Signature X, Author Signature Y (Signature Author Page *, Signature Author X, Signature Author Y) | For the proposer's signature, now mandatory attributes, Page - document page counting from 0, X , Y coordinates of the signature location from the upper left corner in percent, only a number is given, not the "%" sign. See API Integration FAQ for more information. |
| Signer Type |
|
| Signer First Name* | First name of the counterparty, mandatory attribute |
| Signer Surname* | Last name of the counterparty, mandatory attribute |
| Signer Email* | Send a notification email to this email address, mandatory attribute |
| Signer Phone* | A notification email and a 2-step authentication PIN for the counterparty will be sent to this phone, a mandatory attribute |
| Signer Should Sign* | Yes - The counterparty will sign the document No - The counterparty will receive the document for approval - they will only read and acknowledge it, but will not sign - they will receive a notification email and SMS (in preparation). |
Signer Signature Page *, Signer Signature X*, Signer Signature Y* (Signature Signer Page, Signature Signer X, Signer Signature Y) | For counterparty signature, now mandatory attributes, Page - document page counting from 0, X , Y coordinates of signature location from top left corner in percent, only number given. See API Integration FAQ for more information. |
| Signer Location* (Contract Sign Location) | Pre-filled as signature location, e.g. "Prague", optional attribute |
| Signer Street | Optional attribute, the address of the signer as part of their identification. Particularly useful when using Signi templates where the signer's details are provided in the template header. |
| Signer City | Optional attribute, the municipality of the signer as part of his identification. Particularly useful when using Signi templates where the signer's details are provided in the template header. |
| Signer ZIP | Optional attribute, the postcode of the signatory as part of his/her identification. Particularly useful when using Signi templates where the signer's details are provided in the template header. |
| Signer Date of Birth | Date of birth, to be filled in for individuals with self-employed status if we want to have it as part of the signatory's identification. It is particularly useful when using Signi templates where the signatory's details are given in the template header. |
| Signer Company Name | Name of organisation, to be filled in if the counterparty is a legal entity |
| Signer VAT ID | TIN of the organisation, to be filled in if the counterparty is a legal entity |
| Signer Company ID | Organisation ID number, to be filled in if the counterparty is a legal entity |
Starting flow in MS Sharepoint
In the appropriate folder in MS Sharepoint, select the appropriate document to sign and choose Automate > Submit to SIGNI Signature.

Tips and notes
Dates must be in the default format YYYY-MM-DD.
If the imported Connection to MS Power Automate does not show up, checking Disable cache via F12 > Application > Network may help - https://support.helpdocs.io/article/CmkE83ebCz-clearing-a-cache-in-your-browser
Dynamic page count - expression - sub(length(split(base64ToString(outputs('Convert_Word_to_PDF')?['body']), '/Type/Page')), 2)
Each instance of flow has a separate webhook, flow will fall asleep after sending and wake up when the unique webhook is called back.
It is a good idea to account for callback error handling in Flow when submitting documents.
Possible errors “The request failed. Response content: '{"code":402,"message": "User does not have enough credits","error":"unsufficient_credit"}', which in this case means that you need to recharge the credits of the Signi user who owns the Signi workspace/workspace to which documents are sent via the API key
What to watch out for when uploading a connector?
After importing the Solution wait a while, it may take some time.
NEVER put in raw JSON , then it will not be updatable,- it must not be
NEVER edit the Custom Connector - although it can , but the consequence will be that it won't update afterwards
If the customer gives us rights to tenant, we can update the connector for them.
How to add a button to a document line?
Add a column with JSON
use JSON formatter - https://www.google.com/search?q=sharepoint+column+formating+JSON&oq=sharepoint+column+formating+JSON&aqs=chrome..69i57j0l7.11017j0j7&sourceid=chrome&ie=UTF-8
Other topics
Materials for MS Power Automate
Be sure to take this training first, you can get started right away: https://docs.microsoft.com/en-us/learn/browse/?expanded=power-platform&products=power-automate
Also, get the Free Office 365 Developer Subscription, described here: https://www.mspro.cz/microsoft-365-e5-developer-subscription%e2%80%8b/
Normal Sharepoint including Windows Server is in the Action Pack Internal Partner Licenses, see description here: https://www.mspro.cz/vyhody-microsoft-partner-network-a-interni-licence/
For our engaged partners on Azure in conjunction with PowerApps, Microsoft provides customized training in-house
Microsoft Partners, such as Networg, also do training for our other partners on the Power Platform.
There is a paid MOC PL-900 course.
Example of a simple connection
The following video shows an example of a simple connection between Signi and MS Sharepoint from the user's perspective.
How the connector is maintained
We continuously maintain the connector to reflect new developments in the platform and Signi see New developments in the Signi connector for Microsoft.
The connector always has some "backlog" regarding feature availability in the Signi API. If necessary, it is possible to call the Signi API directly via HTTP Request.
Where to go if you have problems
The first place is help@signi.com.
Alternatively, you can contact the connector authors directly at support.networg.com or email psa@support.networg.com.
Was this article helpful?
That’s Great!
Thank you for your feedback
Sorry! We couldn't be helpful
Thank you for your feedback
Feedback sent
We appreciate your effort and will try to fix the article